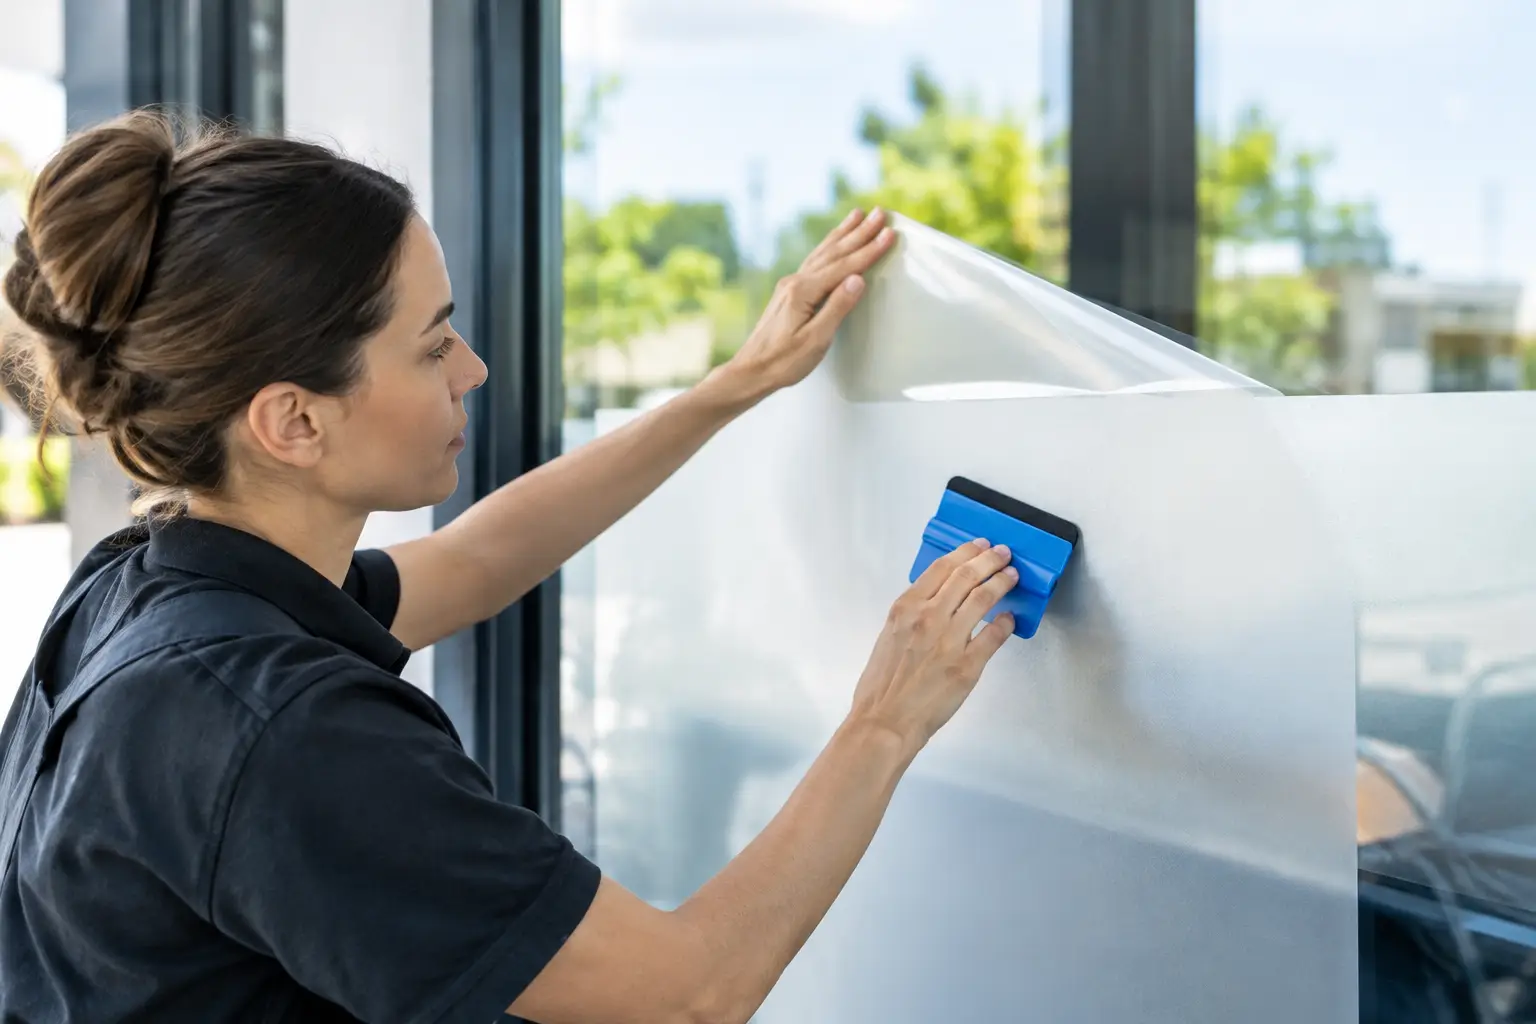
A window graphic can make a storefront look established in a single afternoon – or look rushed from the sidewalk if it is crooked, bubbled, or installed over dirty glass. Knowing how to apply window graphics properly protects the investment in your brand and gives customers a clear, polished first impression before they walk through the door.
For small decals, hours of operation, and simple promotional graphics, a careful in-house application can work well. Large storefront coverage, perforated film, multi-panel designs, and graphics installed high above grade are different. Those projects require the right material, accurate layout, and installation experience to keep the finished result clean and durable.
Start With the Right Window Graphic Material
Application begins before the graphic reaches the glass. The right vinyl depends on what the graphic needs to do, how long it needs to stay in place, and whether visibility through the window matters.
Cut vinyl is a practical choice for lettering, logos, business hours, and simple shapes. It delivers a crisp, professional look and works especially well for permanent storefront identification. Printed vinyl gives you more freedom for full-color branding, product images, seasonal promotions, and detailed campaign graphics.
Perforated window film is designed for graphics that cover more glass while allowing people inside to see outward. From the street, the printed image is prominent; from inside, the view remains partially visible. The trade-off is that perforated film can reduce natural light and needs careful material selection for exterior exposure.
For Houston businesses, heat and sun exposure deserve real consideration. A short-term promotion may only need temporary vinyl, while a west-facing storefront or restaurant window exposed to intense afternoon sun needs a commercial-grade film and laminate designed for the conditions. Using the cheapest material for a long-term application often leads to fading, edge lift, or adhesive failure sooner than expected.
Check the Glass, Location, and Design Before Installation
Before applying anything, inspect the glass and confirm the installation plan. Measure the visible glass area, not just the window frame. Mullions, door handles, push bars, tint, security sensors, and interior displays can all affect where a graphic should sit.
Check lease terms and property requirements as well. Shopping centers, office properties, and multi-tenant buildings may have rules covering window coverage, approved colors, temporary promotions, or signage placement. A design can look great in a proof but still create a problem if it conflicts with property standards or blocks required visibility.
Decide whether the graphic will be installed on the outside or inside of the glass. Exterior installation is typically easier to see and is often preferred for standard adhesive vinyl. Interior installation protects the graphic from weather and tampering, but it may require a reverse-printed design or a specific inside-glass material. Do not assume standard vinyl will read correctly when viewed through glass.
The design also needs enough contrast to work at driving and walking distance. Fine print, low-contrast colors, and graphics crowded into every inch of glass are hard to read. The strongest window graphics establish the business name, primary offer, or directional message quickly.
Tools You Need to Apply Window Graphics
A clean installation does not require an oversized tool kit, but it does require the right basics. Have a felt-edge squeegee, low-tack masking tape, a tape measure, a level, a lint-free cloth, a spray bottle, a utility knife with fresh blades, and a pin or air-release tool available before you begin.
Use a glass cleaner that leaves no residue. Many household cleaners contain additives that can interfere with adhesion. A mixture of water and isopropyl alcohol is commonly used for final cleaning, provided it is compatible with the film manufacturer’s recommendations.
Avoid installing on glass that is extremely hot, wet, dusty, or cold. Temperature and humidity affect how vinyl handles and how adhesive bonds. If the glass is in direct sun, work earlier in the day, shade the area if possible, or schedule the installation when the surface is cooler.
How to Apply Window Graphics Step by Step
Clean the glass completely
Wash the installation area first, then clean it again. Remove dust, fingerprints, tape residue, oil, and any buildup around the edges of the window. Use a razor scraper only when appropriate for the glass and when you are certain it will not damage tint, coatings, or nearby finishes.
Dry the glass with a lint-free cloth and inspect it from several angles. A tiny piece of lint may seem minor, but it becomes highly visible beneath a smooth, solid-color vinyl graphic.
Mark the placement before removing the liner
Position the graphic against the glass with masking tape. Step back and view it from the customer approach, not only from arm’s length. Check that the logo is level with nearby signs, centered in the pane where intended, and clear of door hardware and sightlines.
For larger graphics, use the hinge method. Apply a straight strip of masking tape along the top edge or vertical centerline to hold the graphic in place while you work. This gives you a reliable reference point and reduces the chance of the vinyl shifting halfway through the application.
Apply with steady, overlapping squeegee strokes
Peel back a small section of the release liner rather than removing the entire liner at once. Hold the graphic away from the glass, then use firm, overlapping strokes with the squeegee to press the adhesive into place. Work from the center outward to push air toward the edges.
For a dry application, move slowly and maintain even pressure. Dry application is common for smaller cut-vinyl lettering because it gives strong control and avoids moisture becoming trapped beneath the film.
A wet application may be appropriate for certain larger films because it allows the graphic to slide into final position before it bonds. However, it is not right for every adhesive or material. Applying liquid when the manufacturer calls for a dry install can weaken the bond, extend curing time, or cause failure at the edges. Follow the film specifications instead of relying on a one-method-fits-all approach.
Remove transfer tape carefully
Once the vinyl is fully squeegeed, remove transfer tape slowly at a low angle, pulling it back over itself rather than straight away from the glass. If lettering starts to lift with the tape, lay the tape back down, apply more squeegee pressure, and wait briefly before trying again.
After the transfer tape is off, make a final pass with the squeegee over each letter and edge. This is especially important around thin strokes, small copy, and sharp corners.
Handle bubbles and edges correctly
Small bubbles sometimes settle as the adhesive cures, especially with air-release films. Do not immediately puncture every bubble. Give minor bubbles time to relax, then assess the result.
If a larger bubble remains, use a fine pin to make a tiny opening near the edge of the bubble and press the air out toward that opening. Avoid cutting into the vinyl or creating visible holes in the center of a graphic. Lifted edges should be addressed promptly with controlled heat only when the vinyl manufacturer permits it. Too much heat can stretch, shrink, or distort the material.
Give the Graphic Time to Cure
The installation may look finished immediately, but the adhesive still needs time to cure. Avoid washing the glass or aggressively touching the edges for at least 24 to 48 hours, depending on the material and weather conditions.
After curing, clean the graphic with mild soap and water and a soft cloth. Avoid abrasive pads, harsh solvents, and pressure washing directly at the edges. If window graphics are part of a storefront cleaning routine, make sure the cleaning crew understands that vinyl needs different care than bare glass.
When Professional Installation Is the Better Choice
Professional installation is the practical choice when the graphic is large, high-visibility, multi-panel, or intended to represent your business for years. It also makes sense when windows are elevated, unusually shaped, heavily tinted, exposed to strong weather, or part of a coordinated opening or rebrand.
A professional sign team can verify measurements, create an installation proof, recommend the right film, account for local property requirements, and install the graphics without distracting bubbles, seams, or misaligned panels. For a business preparing to open, that coordination matters. Your window graphics should match the quality of your channel letters, interior signs, and overall customer experience.
A to Z Sign Company helps Houston-area businesses turn blank glass into clear branding, promotional space, privacy, and direction. Whether the job is a simple door decal or a full storefront window package, the goal is the same: make the location easier to recognize and more professional from the first look.
The best window graphics do more than fill empty glass. They give customers confidence that they have found the right place, and that your business is ready for them.
Leave a Reply